 This is the easiest method I have found for making your very own Homemade Apple Cider Vinegar ( or HACV) and it starts with apple scraps! At first, you will need:
 Then, once you have filled your bag, you can place the apple scraps into your crocks or containers to age. This is what you will need for the next step;
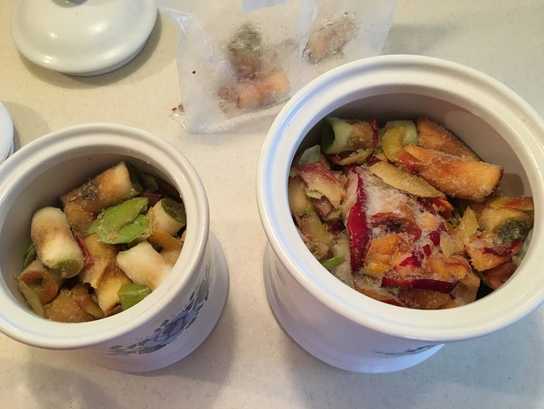 After your apples are in their containers, add the water to your measuring cup, followed by the sugar and mix until the sugar is dissolved. Pour this on the apples and keep repeating until you have covered all the scraps. Note: Sometimes I have a few apple scraps pop up or have tips showing, but that's ok. In the end of the process, you may have to just skim off the scum that may appear. 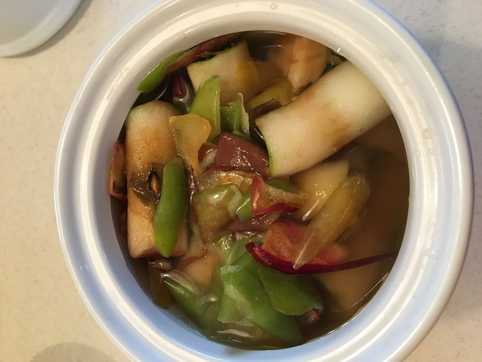 Next step is to mark your coffee filter/napkin with your marker, and date it for 2 weeks later so that you know when to check your vinegar. I also like to mark my calendar or make a reminder on my phone to check it in two weeks, as a back up. Then cover and tightly secure it with either a rubber band or tape. Store your vinegar in a cool dark place ( like a cabinet or closet ). Note: Make sure you have it secured nice and tight or you may have visitors like fruit flies show up unexpected...not fun...believe me! 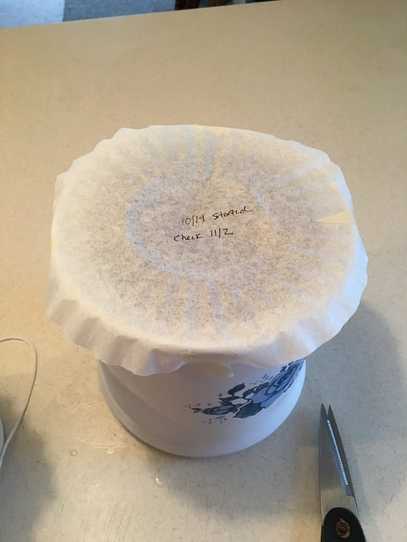 After the 2 weeks has passed, smell your HACV, if it has that smell of vinegar, it's ready. If not, just check in another week. But if it is ready, it's now time to strain it. You will need:
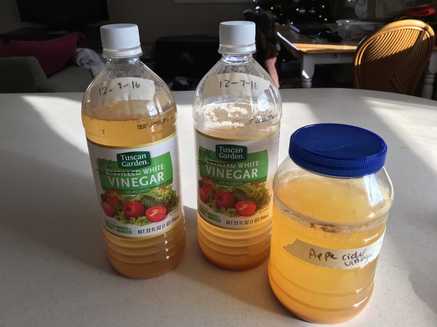
 Set up your station as pictured above, then begin to put the scraps in the strainer and push down the scraps to get all of the excess pulp and juice from the apples. Once it is strained, you can either compost your scraps or feed them to your chickens :). 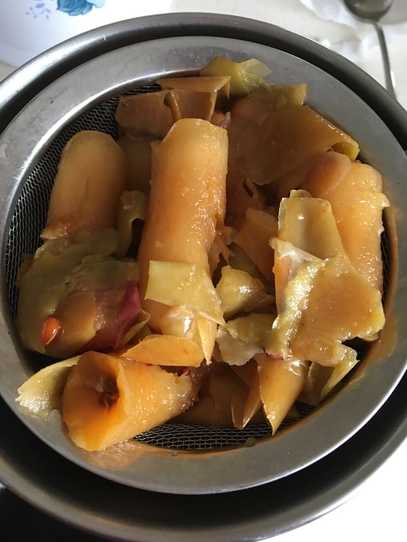 Next, take the vinegar and place it into your new, clean containers that they will be holding your vinegar in for now on. I use a funnel to do this to make it easier. 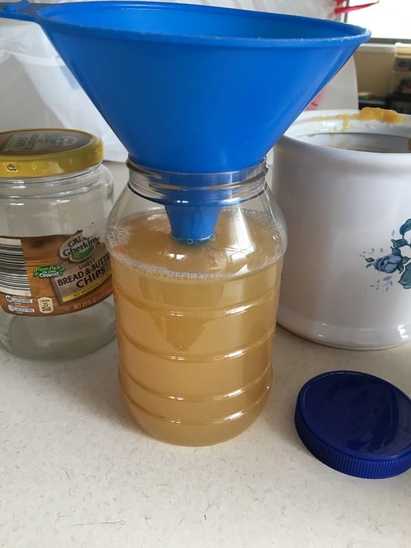 Finally, cover your container with the same or another coffee filter/napkin, secure with a rubber band or with tape, and date for 2-4 weeks later and store in a cool, dark place. 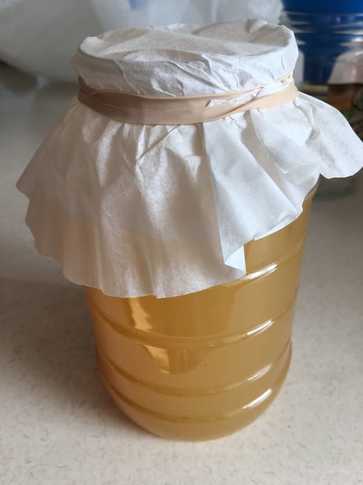 I stored mine in a lower cabinet :) 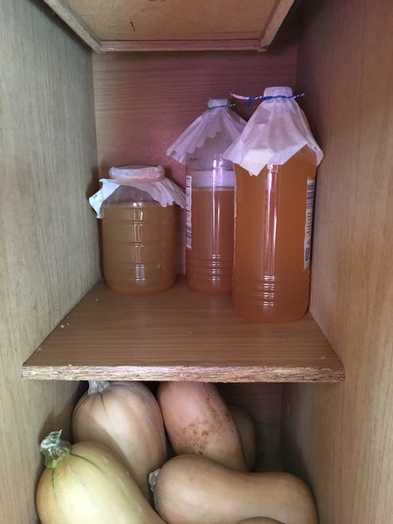 After the 2-4 weeks have gone by, you should have a cloudy, yummy smelling HACV! Give it a taste just to be sure, and if it still isn't up to par, just let it sit for another week and check it again. In the end, you just have to cap the containers. Now you're finished making a useful, from scratch product that you made yourself! Enjoy and happy frugal-ling!  Not sure what to do with your HACV? Check out this link to see the wonders of Apple Cider Vinegar :) This is where I learned about making HACV, She has some great facts about making it as well!
0 Comments
Leave a Reply. |
MarianI'm a lover of nature, food, and creating. Archives
January 2021
Categories |
 RSS Feed
