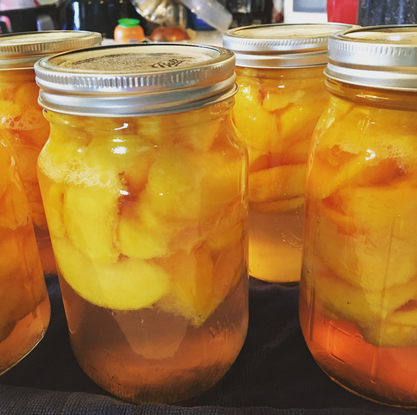
 I love peaches, they are one of my favorite fruits but they are only priced right at their peak of season, which is now! (End of august into mid September in upstate NY.) Once their season ends, they go back to being pricier...and less tasty. So what's the best way to preserve that jucy summer goodness? By canning! I've tried freezing peaches and it's just not as good in flavor to me. So as labor intensive as canning can sometimes be, I've done this method :) and it preserves the peaches as if you had just bitten into one in September when it's the middle of winter! Follow this guide and you will have the freshest, most juiciest peaches, all year long! What You Will Need: • canner with basket and lid. • 5-6 cleaned and sterilized canning jars (with no chipped glass, pints or quarts) with new lids and rust free bands. Either wide mouthed or regular, your choice. • lifting tongs • funnel • small spatula •Citric Acid • 2 large bowls • wet towel for wiping off the peach drippings on the rims. • 20 or so peaches-yellow cling are the best choice for canning. • Large pot for boiling your water. 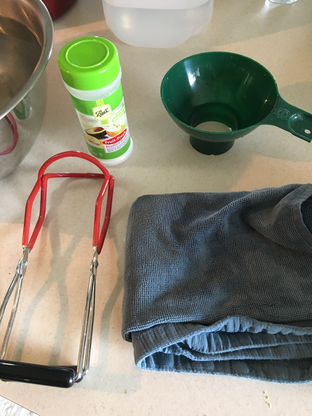 Step 1: Heat Up Your CannerYou will want to start boiling your water for the canner and for the boiling of the peaches. Fill your canner until the water is about 3 inches from the top and put on high heat with the lid on and basket inside. Then, fill your pot for boiling the peaches to almost full, about 2 inches from the top on high heat. 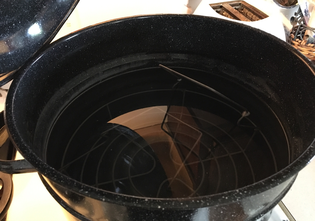 Step 2: Prepare Your Ice BathNext you need to fill up your largest bowl with cold water and have some ice trays ready filled with Ice in the freezer. Set aside next to your boiling pot of water. 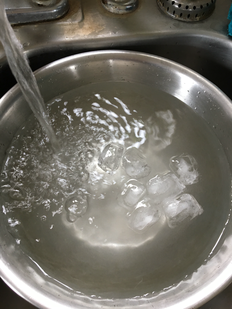 Step 3: Prepare Your Peaches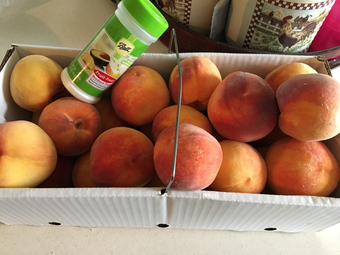 Fill your clean sink with cold water and drop your peaches in gently to make sure any residue on the peaches is cleaned off. 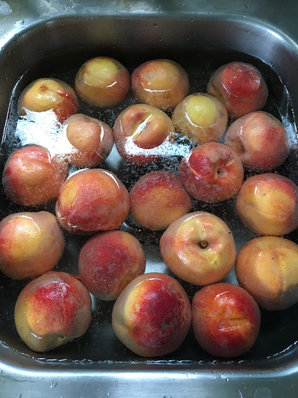 Step 4: Boil The PeachesTo easily remove the skins from the peaches, place your cleaned peaches in your boiling pot of water for about 1 minute. 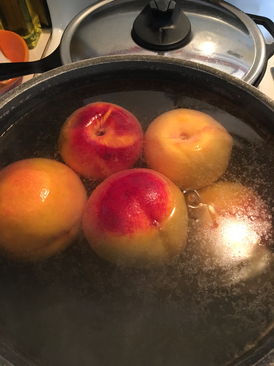 Remove the hot peaches with a slotted spoon and place quickly in the iced water bath you have prepared nearby. 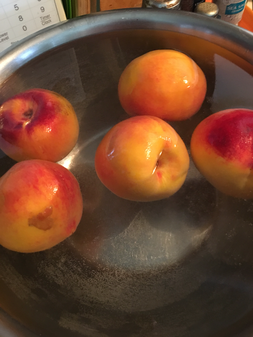 Step 5: Preparing Peaches For The JarsWorking in batches, you will be putting peaches in: boiling water, removing and placing into cold water, and then taking the chilled peaches and placing them into a large bowl to be prepared for your canning jars. Have the canning jars lined up like an assembly line to make the process smooth. Peel the skin off the peach with the back of a pairing knife or by using your fingers and put the skins and pits in another small bowl to be either given to your chickens or tossed in your compost. Then begin slicing up your peach however you see fit ( in half, in slices, or diced). Use your canning funnel to fill up your canning jar. Once the peaches have filled your jar, place the amount the instructions say on your citric acid into the jar atop the peaches.  Then fill your jar with room temperature or warm water, about a half an inch below the top of the jar rim. Remove your canning funnel and take a small spatula and slide it inside your canning jar along the glass sides to remove any bubbles so that the peaches are super compact. Then take your wet towel and gently wipe the inside and outside rim of your canning jar to be sure there isn't any residue on your jar. Seal up your jar with the lid then band and tighten it but don't over tighten. While you Prepare the other jars, place the completed ones as close to the boiling canner as possible to keep the jars warm. Note: You don't want to have the jars cool off and then placed into hot boiling water or they will burst. 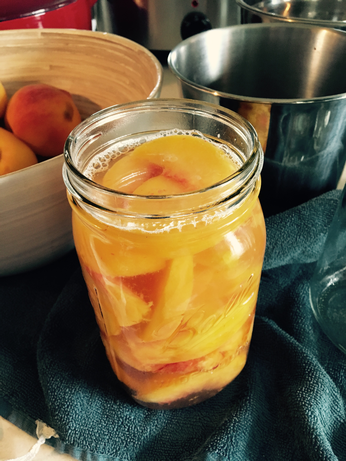 Step 6: Canning Your PeachesOnce all of your canning jars are filled, take your canning tongs and lift each jar into the lifted basket and place them gently into the basket without touching. (Before you do this step, make sure that your water is boiling at a cheerful boil beforehand.) Take some oven mits and lift the full basket carefully back into the hot water. Make sure the water covers the jars at least 2 inches above their tops. If it doesn't, just add some hot water from your sink into a cup and dump over the tops until it does. Close the lid and wait for your canner to reach a cheerful boil and then begin timing. You will time it for 25 minutes for pints or 30 minutes for quarts. 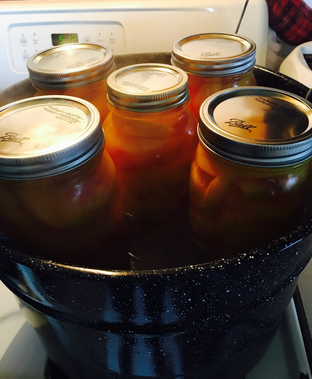 Step 7: Final StepAfter your Peaches are complete, use your canning tongs to lift them onto a dry laid out towel on your counter. Place them on that towel for a few hours, a few inches away from one another to allow for complete cooling. You should hear popping sounds of the lids sealing. After a few hours, check your seals and if they have popped in, you can tighten the bands completely and store ina cool dry place for up to 2 years! If you find that a lid didn't pop, refrigeraterate it as soon as possible and use within a week. Practice makes perfect and it is so rewarding in the end after all of your efforts :). Happy Frugal-ling! 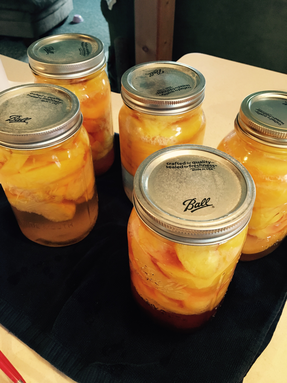 notes: upon opening, always check for spoilage. When in doubt, throw it out. Look for anything suspicious on the inside of the lids that seems funny colored or funny smelling. You should be able to open your jar and smell a delicious peach fragrance. If you see some crusting on the lid, it's fine, but brown or green coloring on the lid is not. If the lid was properly sealed, you should be fine but it's still always good to check:)
0 Comments
Leave a Reply. |
MarianI'm a lover of nature, food, and creating. Archives
January 2021
Categories |
 RSS Feed
